This tutorial shows you how to Install Active Directory, DNS and DHCP to create a Domain Controller. You can watch the video or follow the steps on the page.
Server 2012 R2 System Requirements
Minimum: 1.4 Ghz 64-bit processor
Minimum: 512 MB RAM
Minimum: 32 GB or greater
I recommend using better specs then that but it will work on a computer or VM that has those specs.
Installing Active Directory and DHCP Server Roles
This assumes that you already have a fresh installation of Windows Server, if you don’t yet follow the steps on how to install Windows Server article.
Set a static IP address on the network adapter, to do this:
- Open the network and sharing center
- Click on Change Adapter Settings
- Right click on the network adapter
- Select Properties
- Select Internet Protocol Version 4
- Click Properties
- Type in your Static IP address configuration
- Click OK

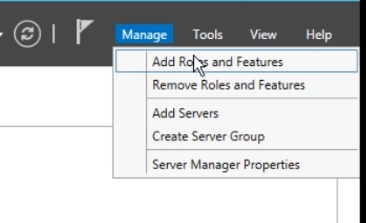
Open the server manager.
Select Add Roles and Features
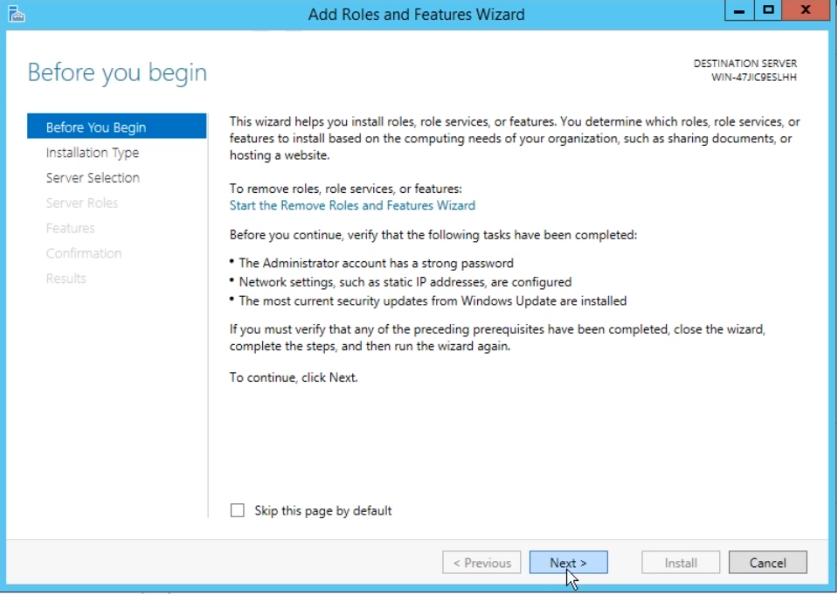
On the Before You Begin screen select next
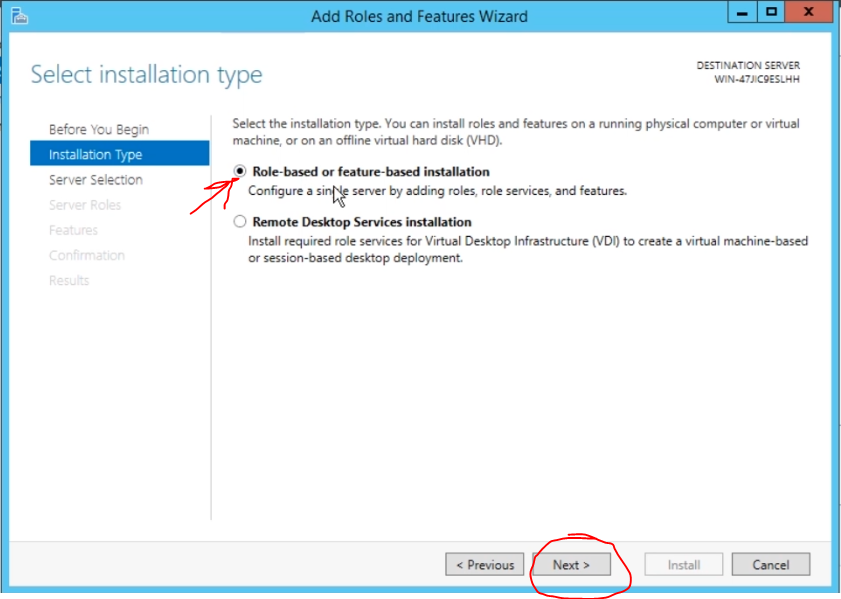
Select Role-based or feature-based installation and click the next button.
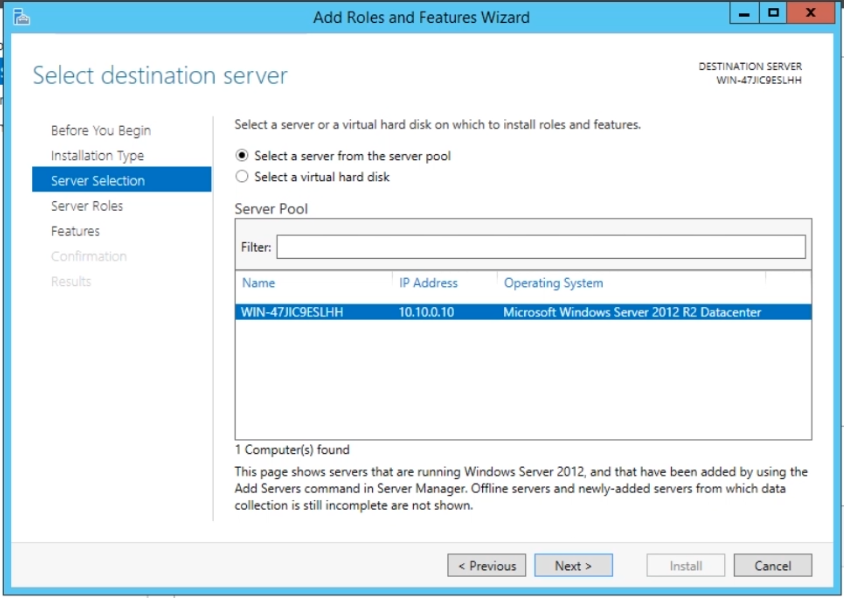
Select the server that you want to install the role on and click the next button
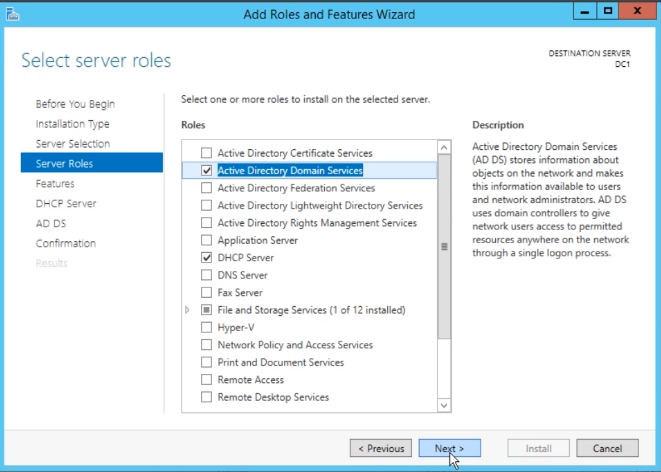
On the next screen tick Active Directory Domain Services and DHCP Server.
On the next screens leave the default settings and select next and then install.
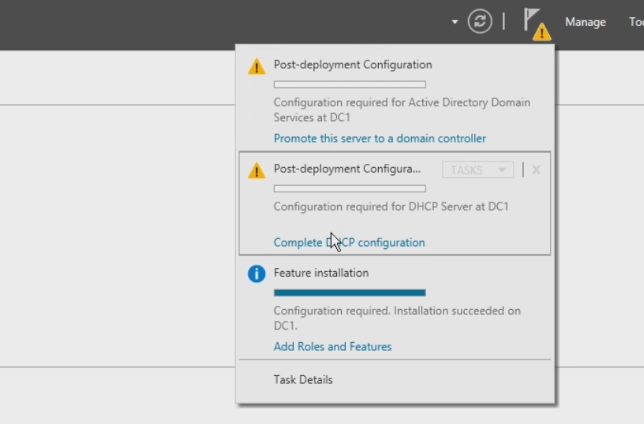
Once the installation of DHCP and Active Directory roles is complete you will get a notification in the Server Manager console to “Promote this server to a domain controller” and to “Complete DHCP configuration”. You can to run the “Promote this server to a domain controller” first, click on that.
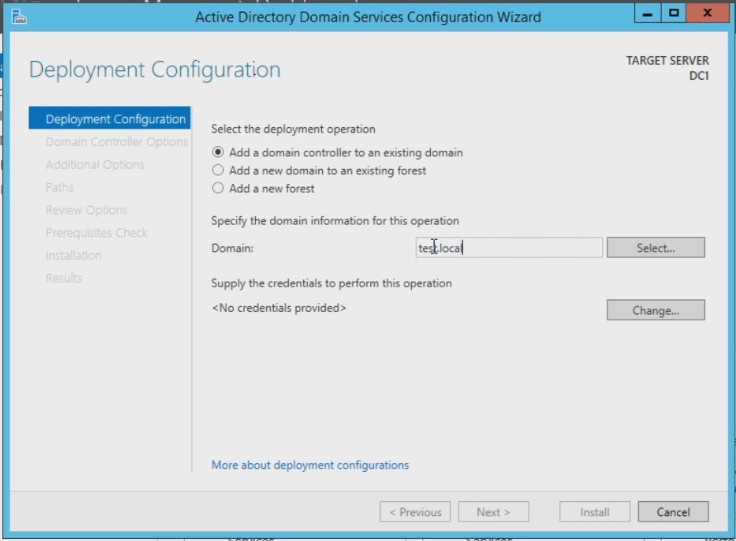
This will bring up the Active Directory Domain Services Configuration Wizard. You want to select “Add a new forest” and give the domain a name. It is better to use the <domain name>.local or a subdomain of a domain that you control. Then select next.
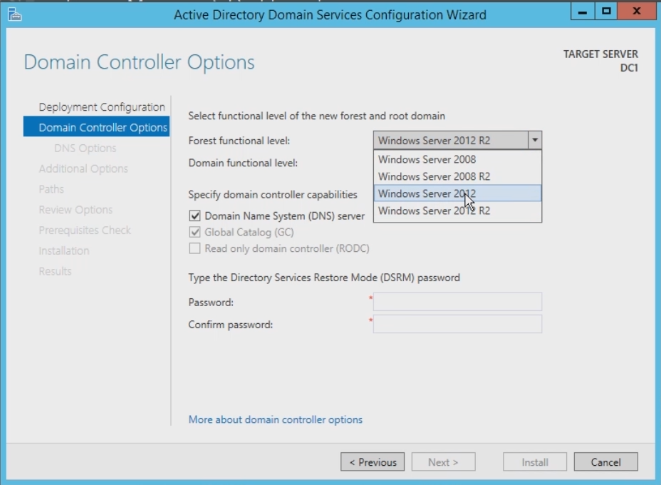
Next choose the forest function level. If you are just using server 2012 R2 then select that otherwise select the lowest version of Windows Server that you are going to have joined to the domain, give the domain a DSRM password(make sure you document this password) and select next.
Leave the rest of the settings as default and keep clicking next though the wizard. At the end of the configuration wizard you will be signed out and the server will be rebooted. Once the server is rebooted it will be a domain controller.
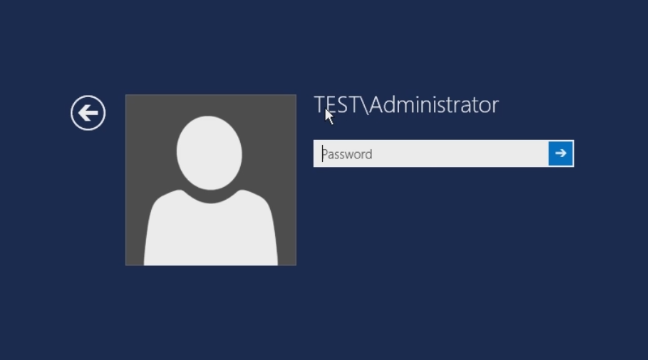
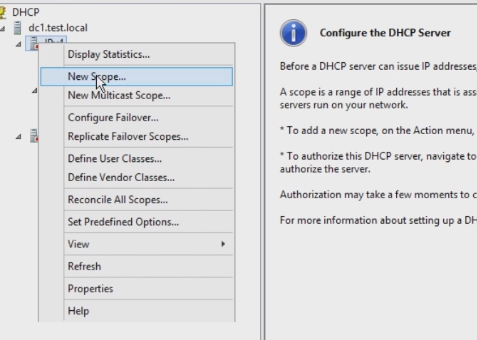
Log into the server and open DHCP in the start menu. You will notice that it is not configured yet.
Right click on IPv4 and select “New Scope”.
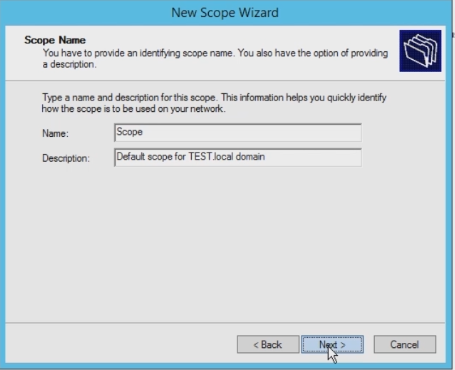
This will open the “New Scope Wizard”, give the scope a name and description and click next.
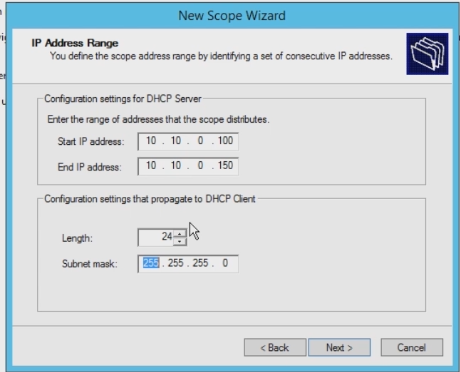
Now you will need to set the IP range. To do this enter a start IP and end IP that is on the same subnet as you.
You will want to make sure that these IP addresses are available.
The next screen allows you to add any exclusions to the IP range. If there is some IPs allocated for something(maybe phone system) then exclude them from your DHCP. Select next.
Then you can set your lease duration time, set this and select next.
Then you will want to configure your scope options, this is where you configure your router and default gateway address and anything else that needs to be allocated by DHCP. Go though these settings and allocate as needed for your network.
Now you will be able to see your DHCP scope in the DHCP console.
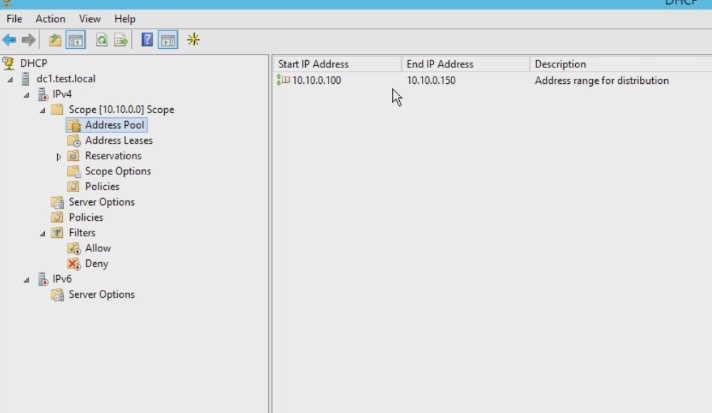
All done, now you have a domain controller that also runs DHCP.
Read More →